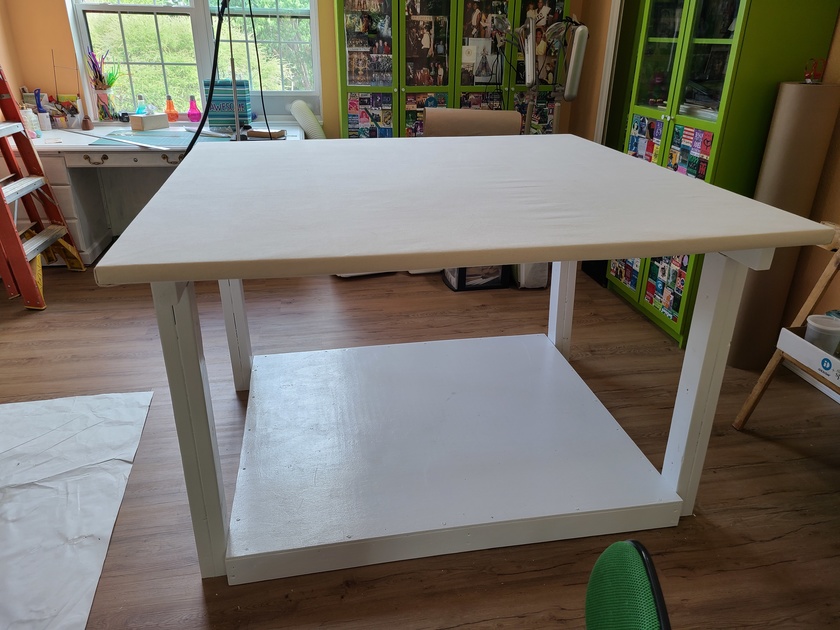
Costume shops usually use homasote board to top the cutting table and make it a pinnable surface. Homasote is a soundproofing drywall product that is sold in 4'x8' sheets like regular drywall and plywood. Quilters and quilt stores often use it for large pinboards on the wall for quilt layouts.
Since our cutting table is more than 4 feet wide in both directions and we'd need to piece it anyway, homasote wasn't necessarily the best product to hunt down for our cutting table, especially since it's currently out-of-stock at local Home Depot and Lowe's stores.
So we decided to use office ceiling tiles - an easier to haul home option that I've seen used instead of homasote in a couple places I've worked. We bought an 8-pack. Here's what we bought - https://www.lowes.com/pd/Armstrong-Ceilings-Common-48-in-x-24-in-Actual-47-719-in-x-23-719-in-Fine-Fissured-Contractor-8-Pack-White-Fissured-15-16-in-Drop-Acoustic-Panel-Ceiling-Tiles/3299184
To make the pinnable top, just put pieces on the plywood base layer of the tabletop and use regular masking tape to tape the seams. In the pieces that need to be cut to fit, use a long metal ruler and box-cutter to score the topside (line it up with the plywood edge), and then score the bottom side along the edge of the plywood. After scoring, it's easy to push down to break off the excess, and everything should line up nicely with the plywood.
Once all the ceiling tiles were cut to fit (I taped all the seams as I went), I put a second layer of masking tape on the seams and taped the edges to the plywood base. Then everything was wrapped with brown paper taped in place, and finally covered with canvas duck cloth pulled tight and stapled on the underside.
And now we have a wonderful pinnable top cutting table at the studio! I plan to use the extra 3 ceiling tiles we had to make a top for my cutting table at home at some point, so if there's anything you'd like more detailed photos of, let me know and I'll take some when I make the next one.
#SewingStudioBuild #cuttingtable #tutorial
I spent the day priming things for paint and then I remembered to shoot a quick video. #SewingStudioBuild
I started cutting all the edges while Janet was away yesterday morning. When she got back after lunch, she pulled out a roller and started filling in. I'll put a pic below in the comments. #SewingStudioBuild
We broke for lunch and then came back with a portal ac unit plugged in to an extention cord from the house. Can't wait until they finished hooking up all the electrical and we have the mini split cooling the room for us - it was stupid humid today! #SewingStudioBuild
Merry Christmas, everyone!
If you're looking for something Christmasy to listen to/watch over the next few days, here's the most recent episode of my favorite podcast Blurry Creatures. It's a really fascinating (and nerdy) deep dive into the Biblical story of the Magi.
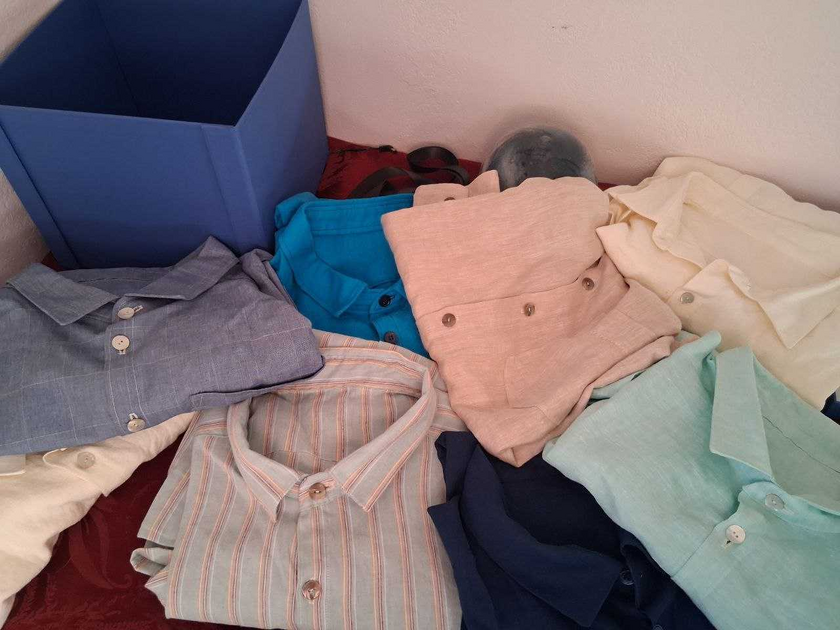
Two days after my son turned in his last paper for his bachelor's degree, I finished my shirt sewing project. Eight shirts, made to measure. Most of the fabrics are linen. Yes, regrettably you can tell exactly when I got my sewing machine repaired... but I hope these help him as he moves through his master's program and in life.
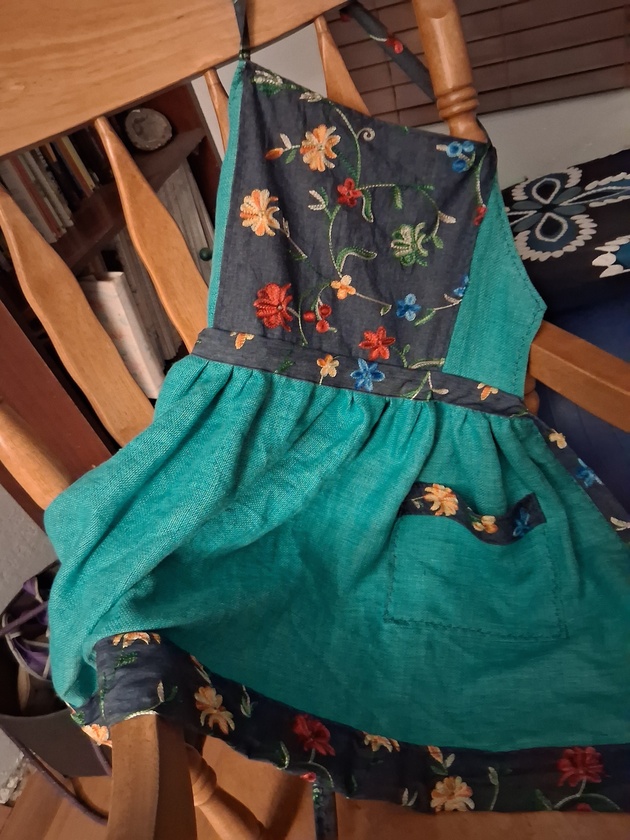
We had a very quiet Thanksgiving, and I'm doing palate cleansers between the shirts in my shirt gift project, so I ran through the scrap pile and made myself an apron.
Aprons, IME, should be made of thicker fabrics in order to actually prevent splashes and stains from getting to your real clothes. Both of these were skirt leftover bits :)
