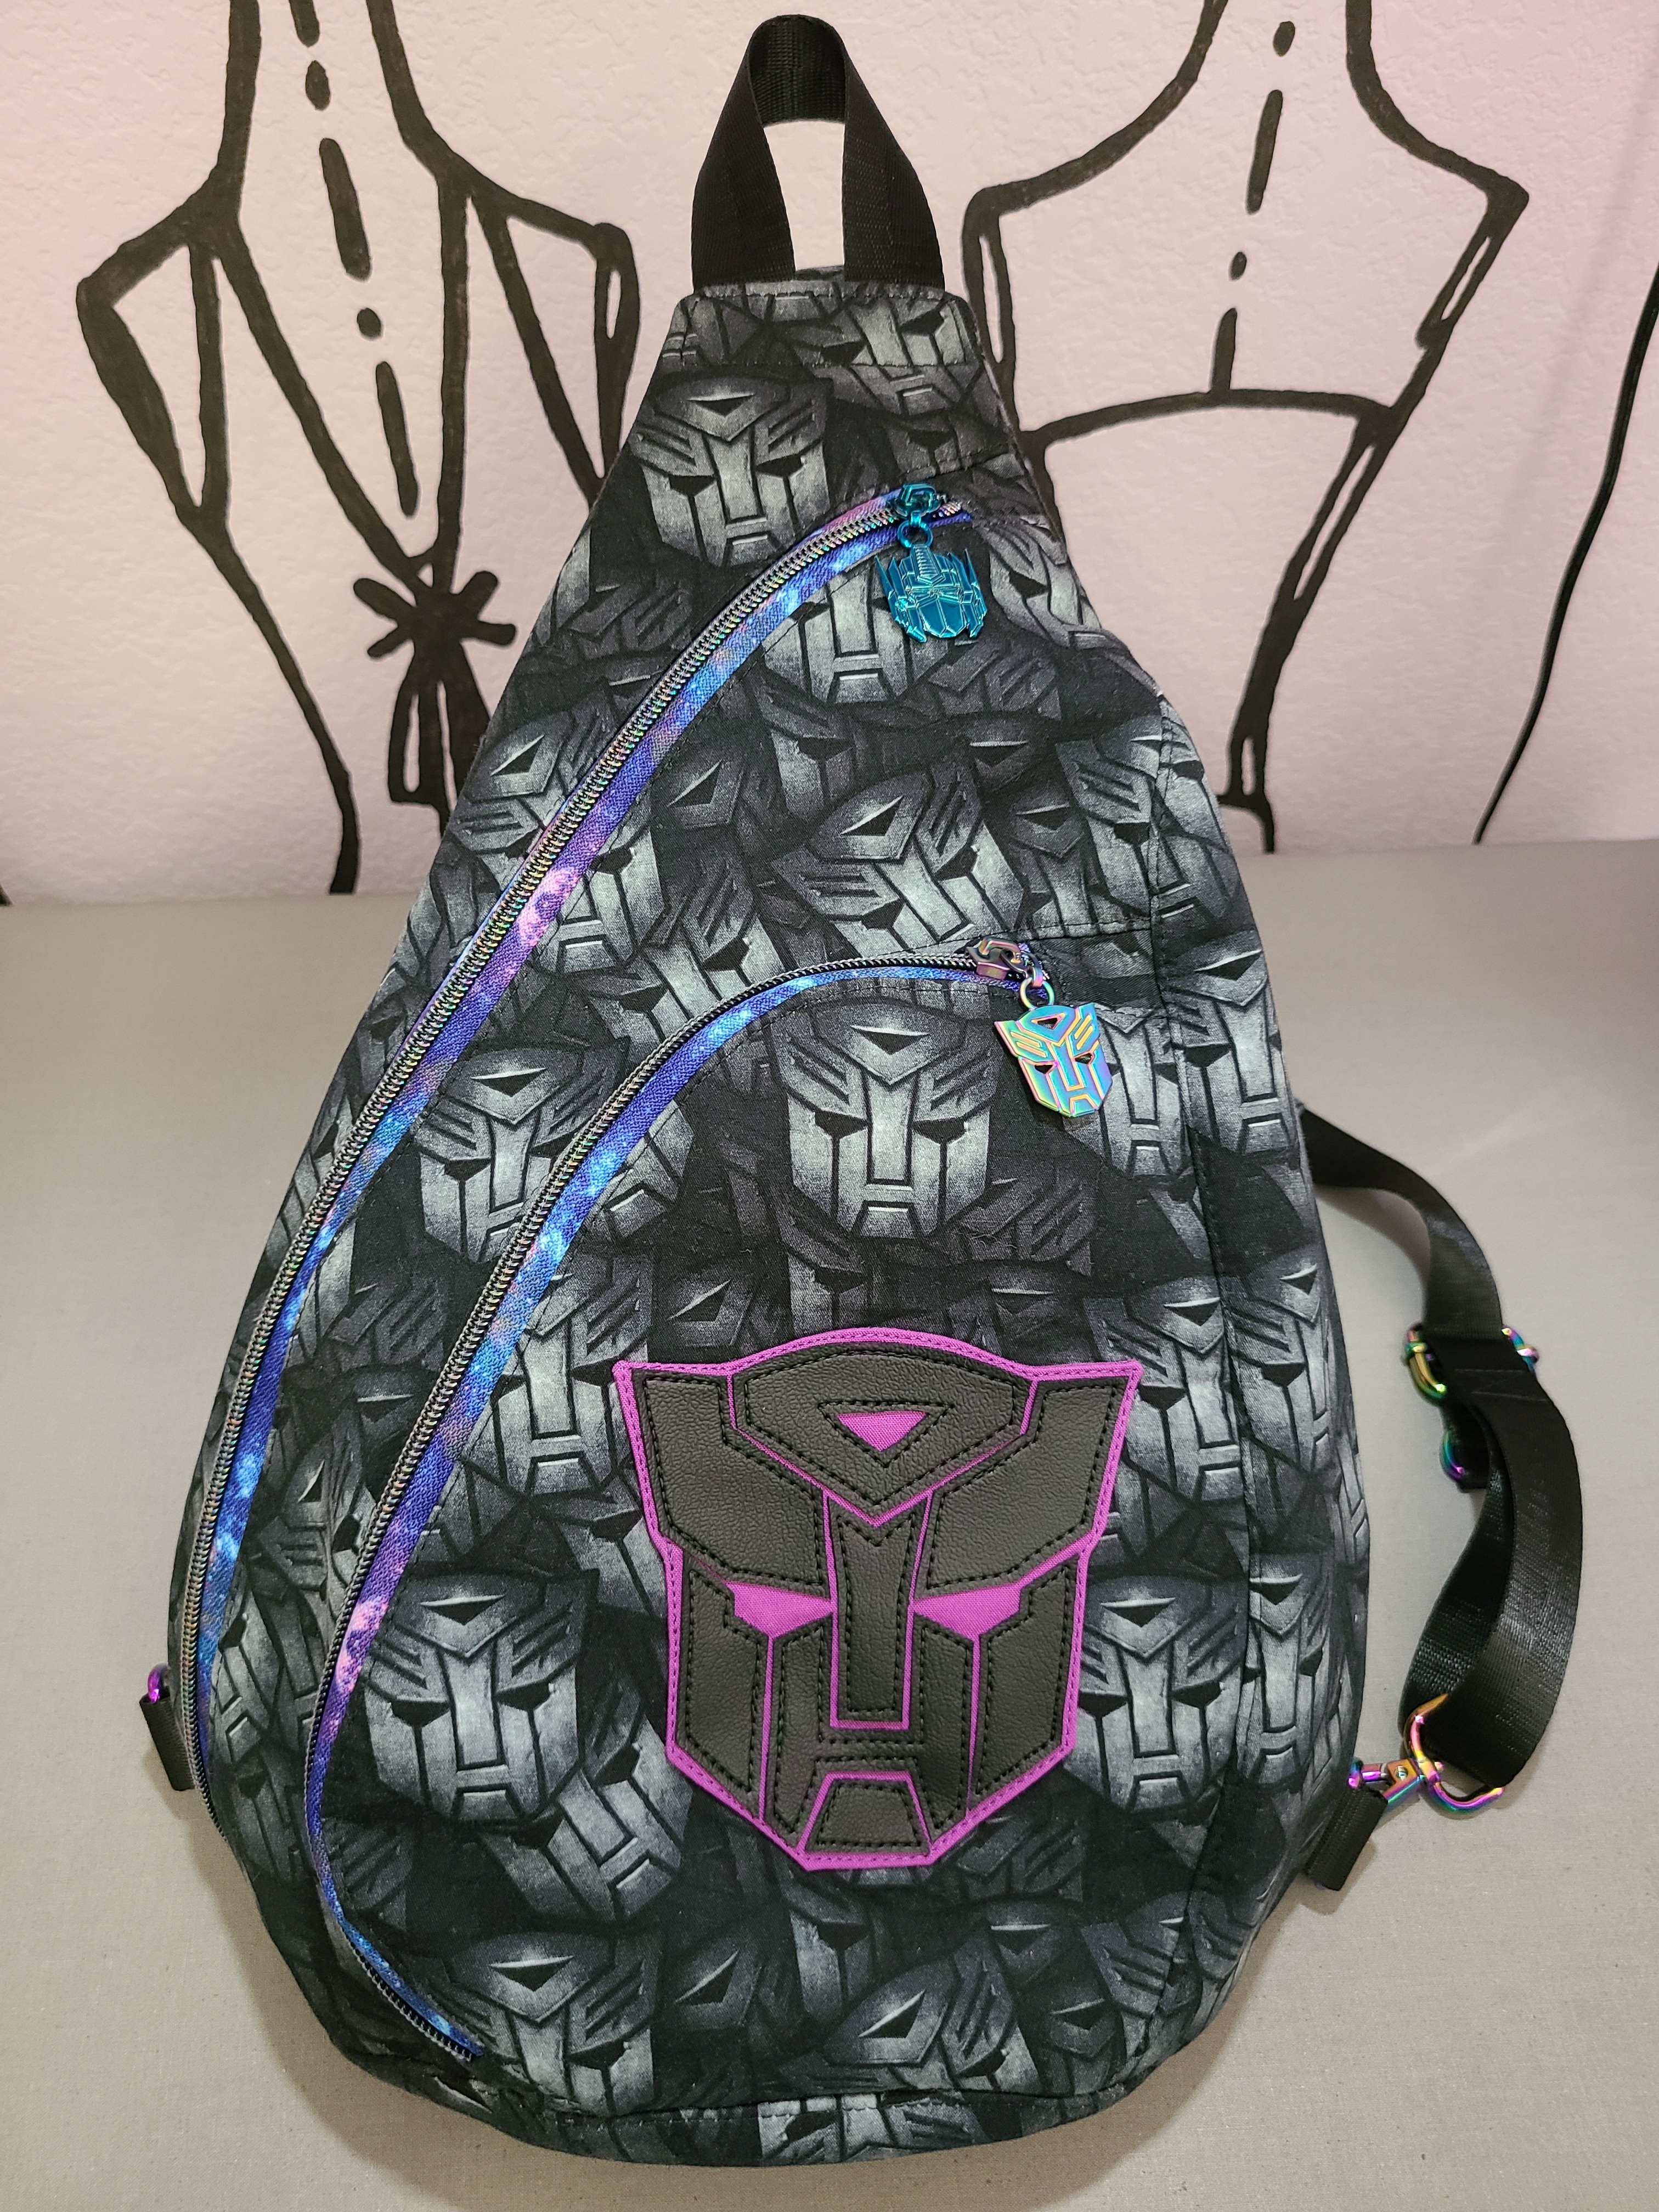
I have lots to say about the Summit Pack sling bag I made, so I'm going to break it into two parts - starting with my review of the actual pattern. (Part 2 will be about what I did differently and more about my finishing preferences.)
I will begin by saying I really like the completed bag and I think the pattern was a good purchase. But it is not a good first bag project if you haven't made a a complex bag or backpack before.
As I mentioned before in a previous post, I did a lot of smoothing out the pattern pieces to get rid of all the wavy edges. I'm not sure if those were caused by the designer tracing a rtw bag or prototyping & cutting apart to get a pattern, but either way, that could have been corrected before final pattern.
I found the instructions annoying to follow. There were good photos but often not of the details I wanted to see for clarification. I found myself having to reread sections multiple times as I went because the formatting was a little awkward.
One of the most annoying things about the instructions was the fact that the seam allowance amount was only listed on the description page, and it even said it would not be listed out directly in the rest of the 23 pages of instructions. (If I hadn't cut the pieces out so long before assembly, I wouldn't have spent so much time searching for that information when I came back to sew it!) Every time seam allowance is mentioned in the instructions it says "use regular SA" which is longer to write than "use 3/8" SA".
Eleven of the pattern pieces are not drafted and are only listed as dimensions on a chart at the end of the instructions. The full bottom piece would have fit on a piece of printer paper, but instead prints as only a half piece marked "cut on fold".
There are absolutely no notches on the pattern and I really wanted there to be a few because of all the curves and trying to figure out where things lined up. (The designer mistakenly uses the word "notch" in the instructions when she means to say "clip the curves".)
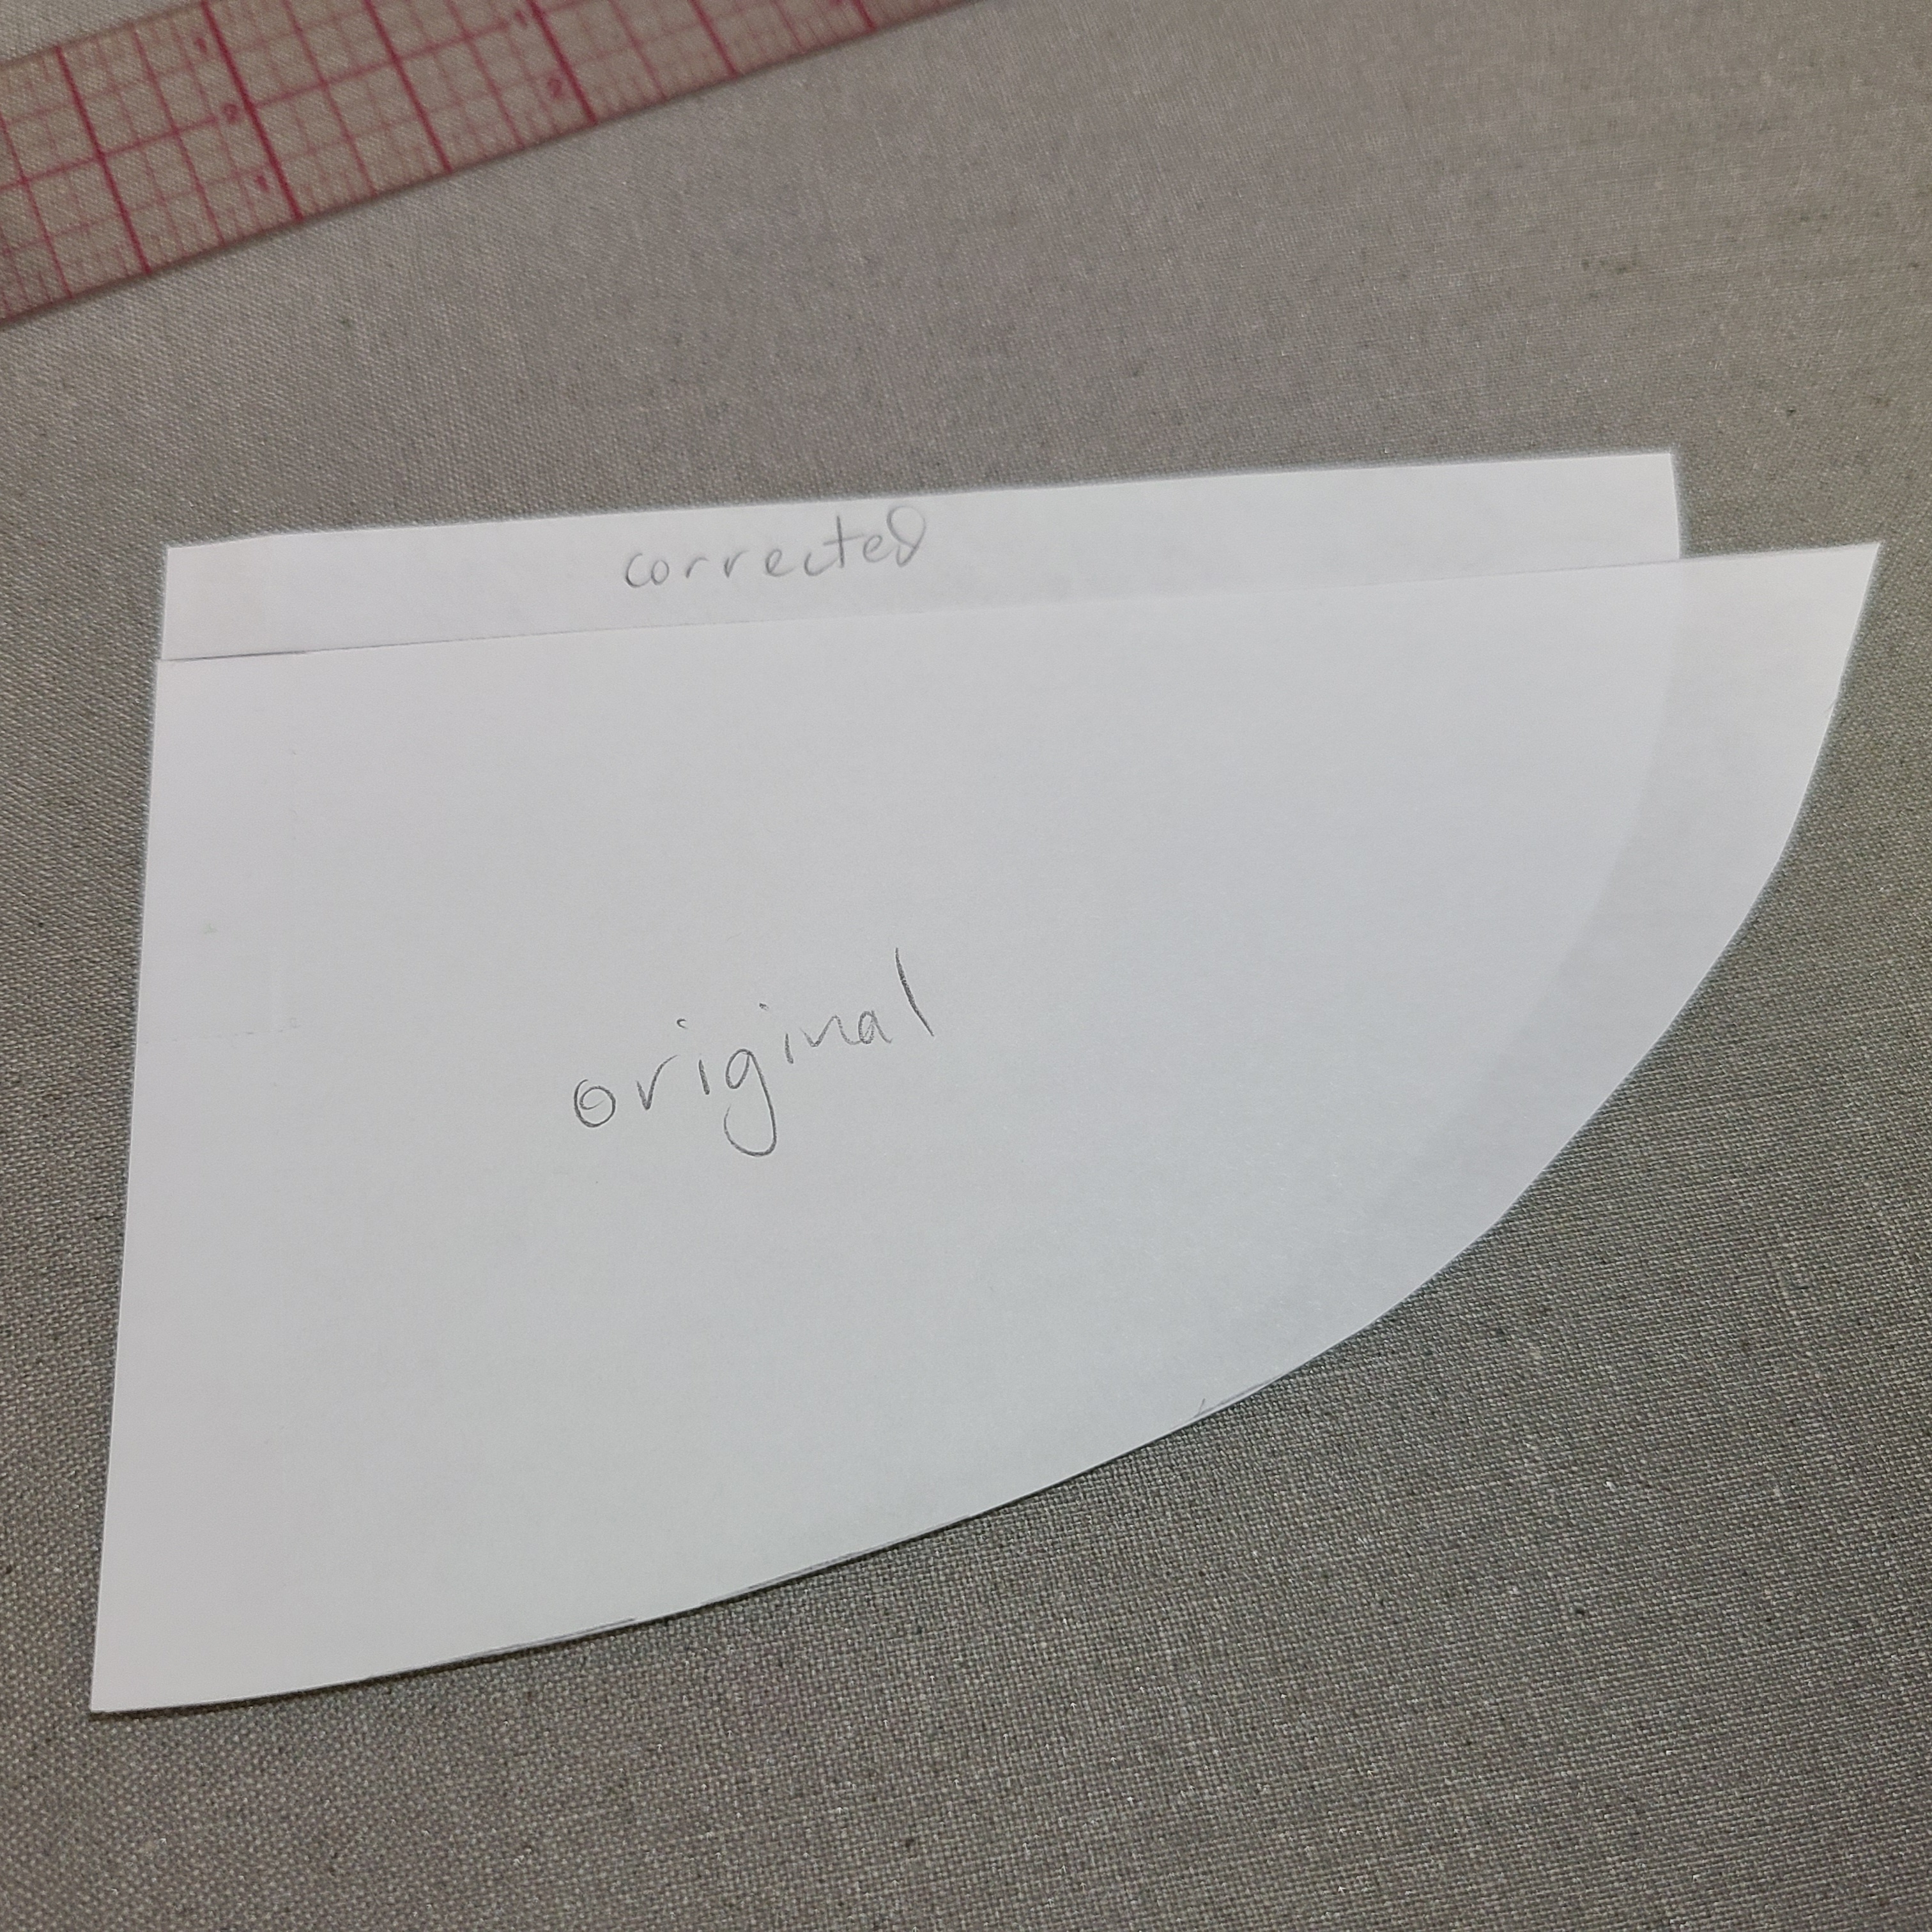
Many pattern pieces needed to be trued-up. I am a very precise stitcher, and I want the edges of a finished pattern to line up. I found myself pinning a seam and ending up with overhang at the end. I eventually realized the instructions were starting on the opposite end and then trimming off the extra overhang from the other end. If there had been notches, it would have made that less frustrating, but if you're always trimming off the overhang, you can correct the pattern! (see pic 3 for example)
The cutting chart says to cut 4 zipper tabs. You actually need to cut 8 if you want to clean finish the inside of the zippers.
The biggest error in the pattern was the bottom piece - it has one whole inch of unnecessary ease on the straight side! This explains why so many other versions of the bag I've seen photos of have some weird puckers in the final seam. I chose to turn my bag differently than instructed, so I was able to handstitch that seam at the very end and more easily control that ridiculous amount of ease. I have now corrected my pattern to remove that ease in case I ever decide to make other one. (Comparison of original and corrected pieces in photo 4.)
If any of you buy the pattern, email me and I'll send you a pdf of my redrafted bottom piece!
Overall, it's a decent pattern and the pieces fit together just like the instructions say they will. I was always trimming off exactly where it said I would be, but I have corrected all my pieces so I won't have to do that again.
#bagmaking #CloudsplitterBags #SummitPack

I spent the day priming things for paint and then I remembered to shoot a quick video. #SewingStudioBuild
I started cutting all the edges while Janet was away yesterday morning. When she got back after lunch, she pulled out a roller and started filling in. I'll put a pic below in the comments. #SewingStudioBuild
We broke for lunch and then came back with a portal ac unit plugged in to an extention cord from the house. Can't wait until they finished hooking up all the electrical and we have the mini split cooling the room for us - it was stupid humid today! #SewingStudioBuild
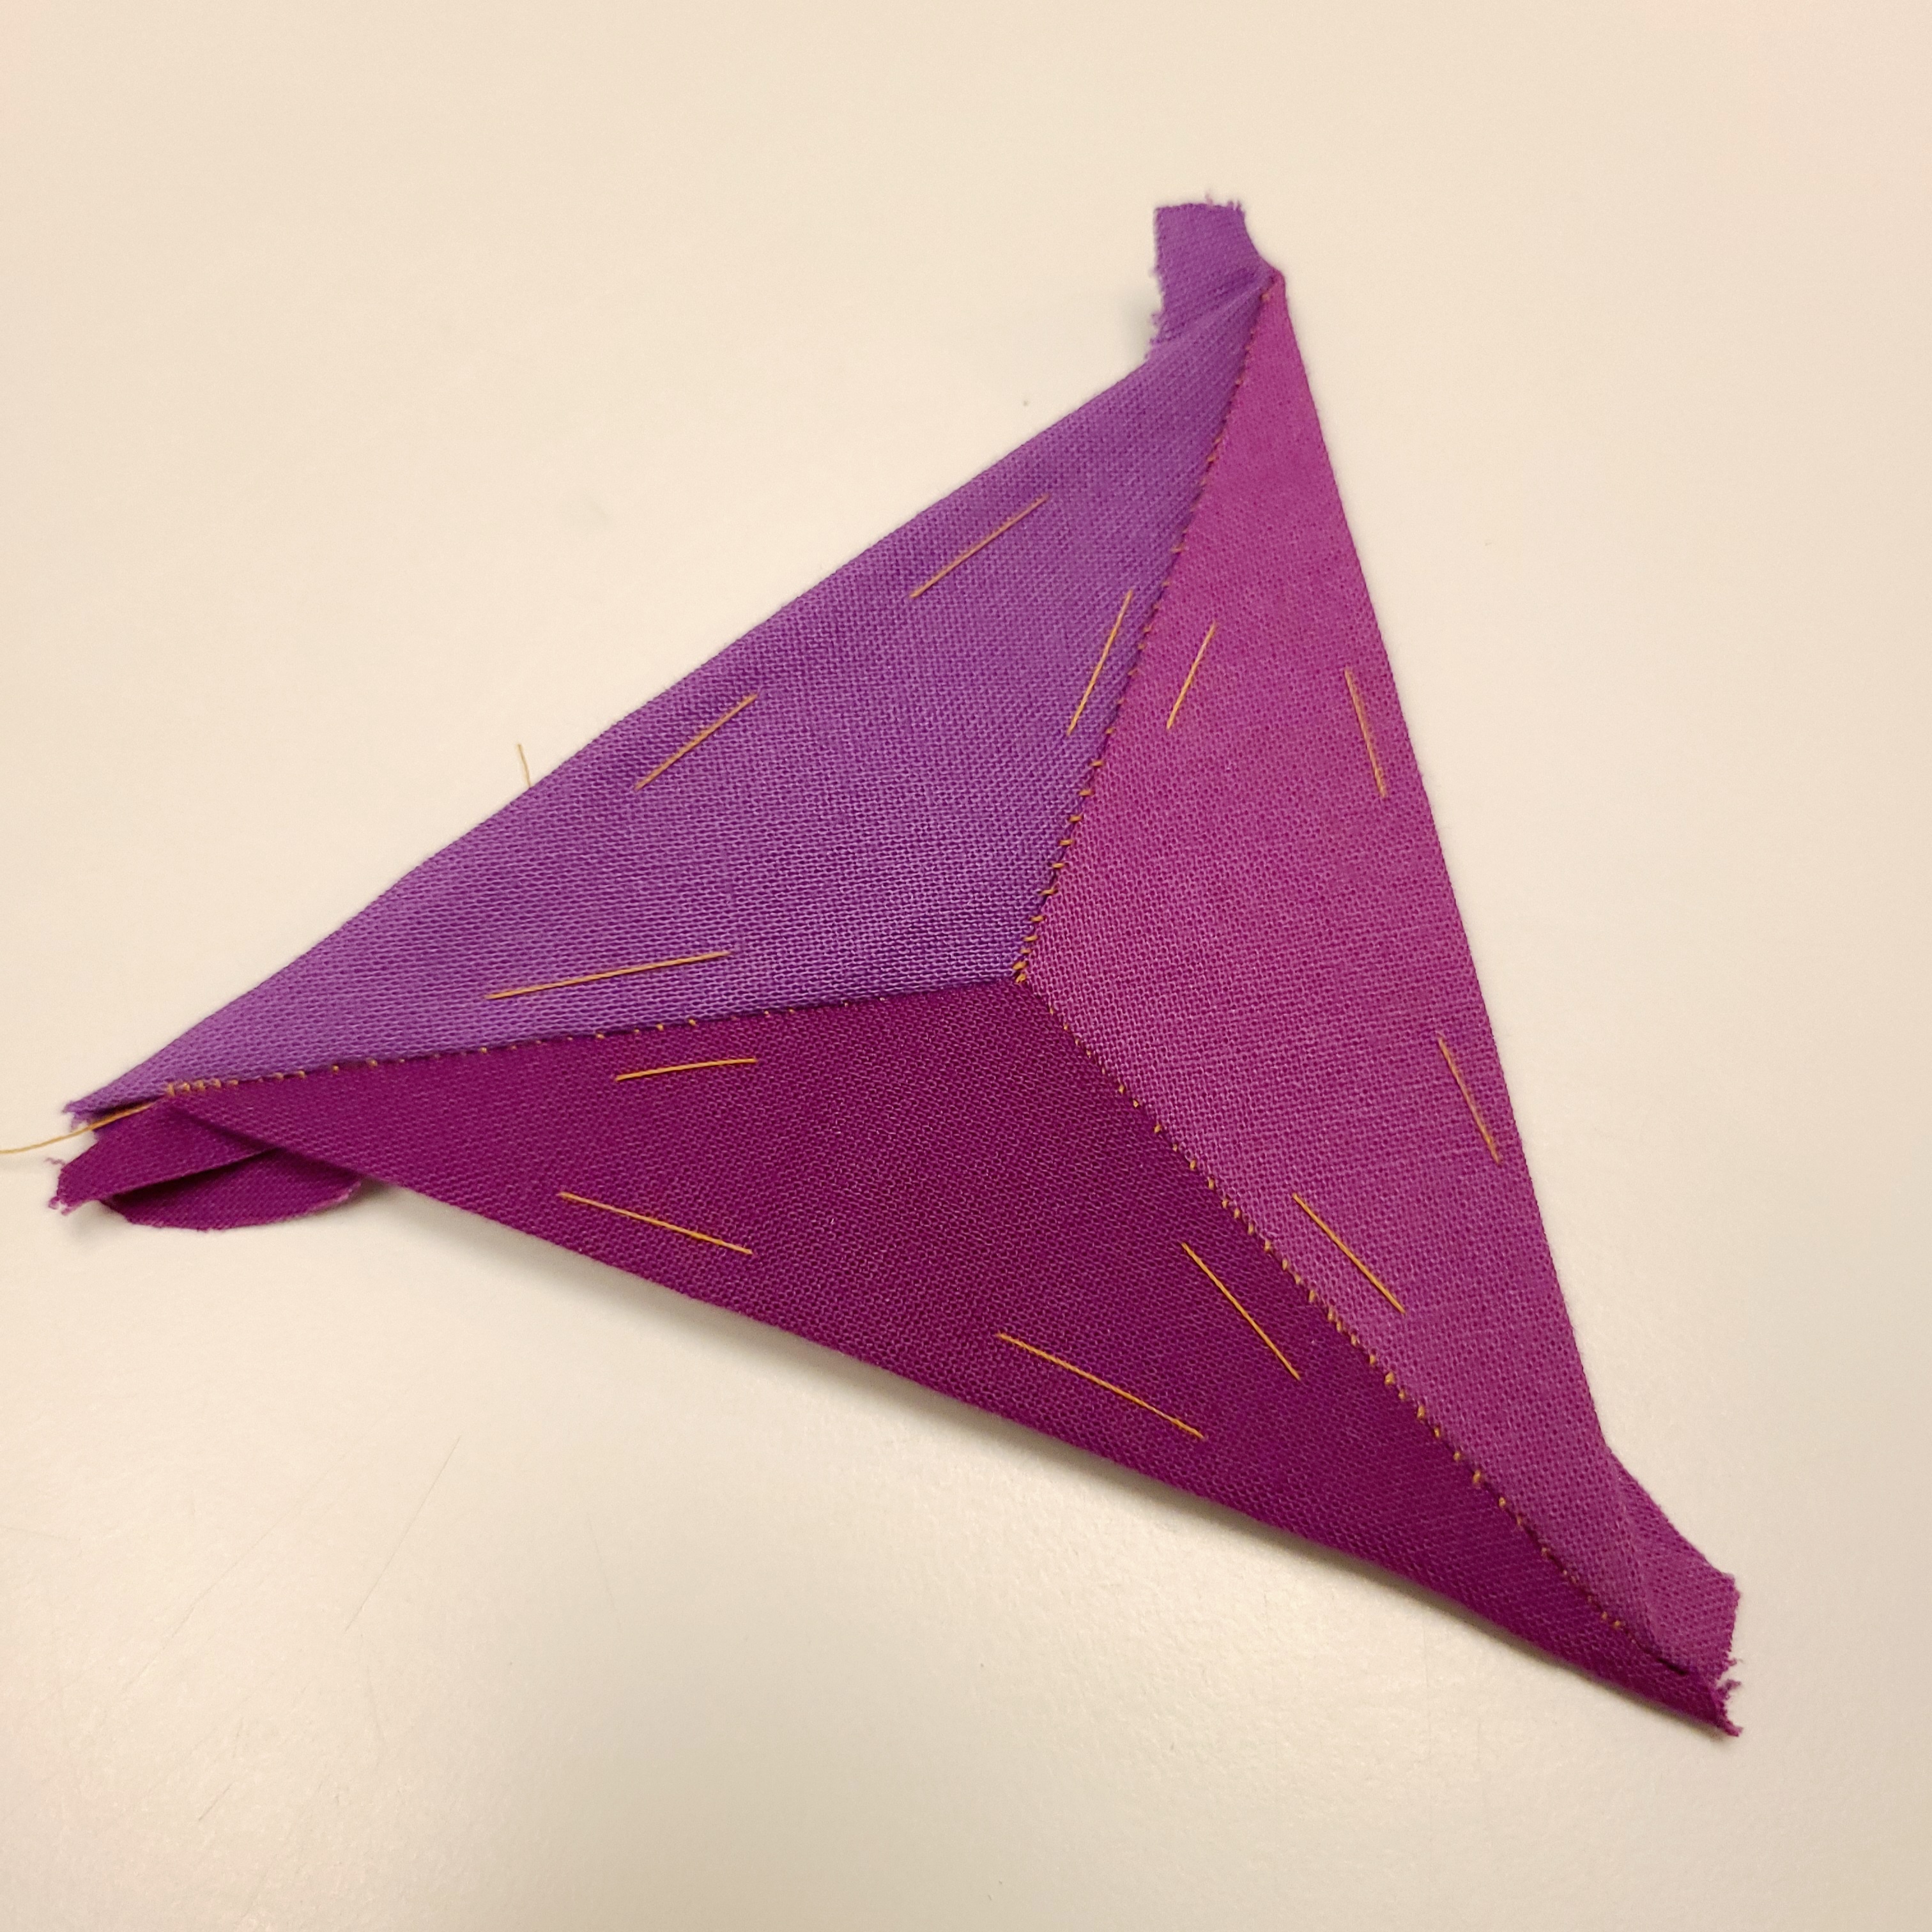
Not bad for a first attempt at English paper piecing. I deliberately used a contrast thread so I could see if I needed to do anything differently.
I have a crazy idea in mind and this was just a test sample. It's going to take forever, but this should be the perfect mindless project to keep my hands busy when I'm listening to podcasts with my husband at night.
Triangle is 4" equilateral.
#epp

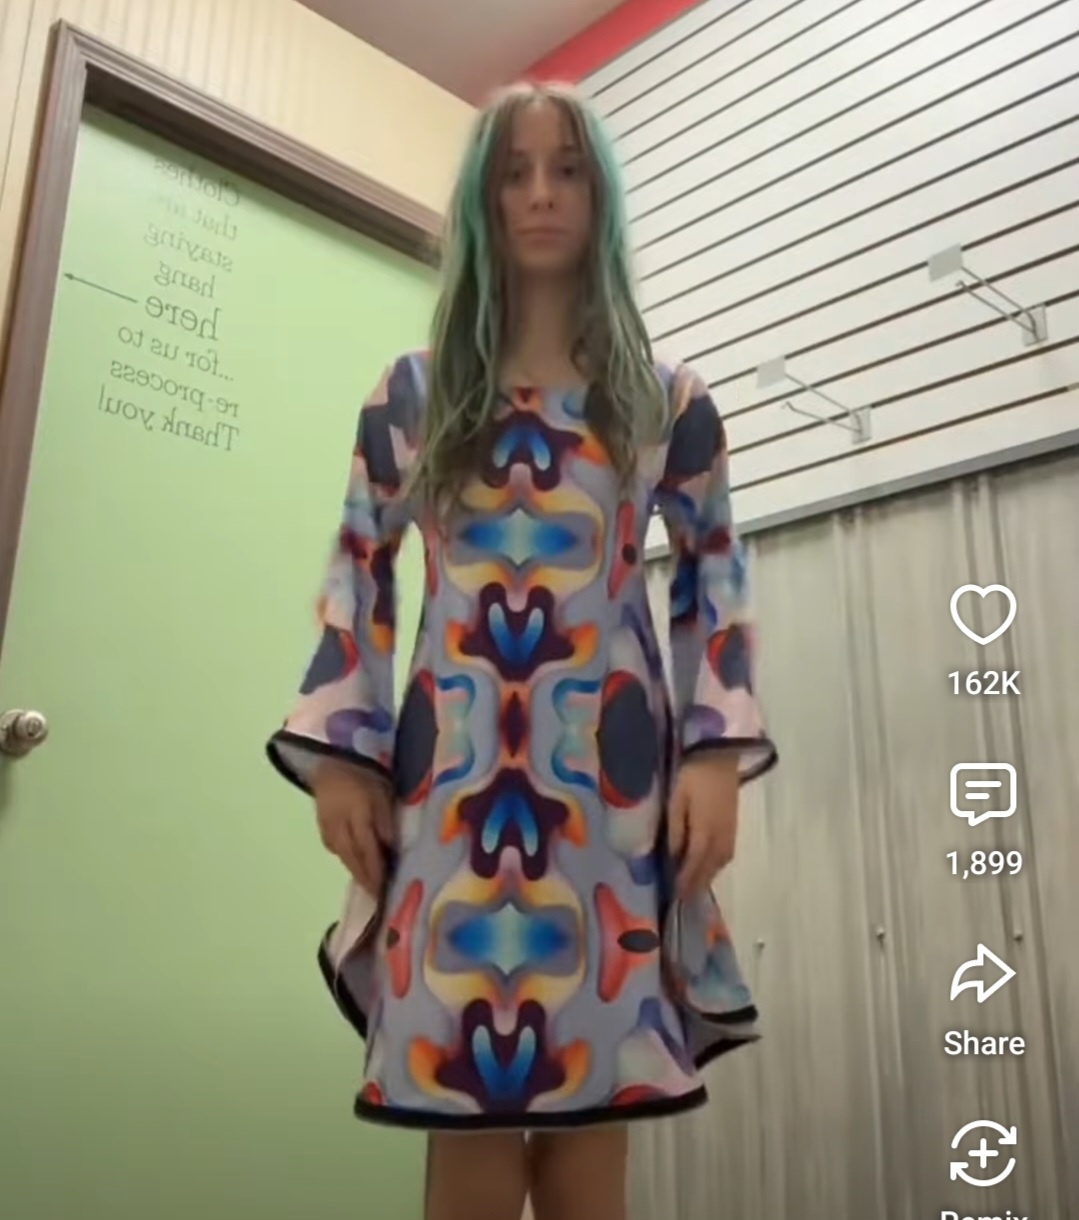
My husband sent me a "funny clothes" compilation video, and I actually kind of like this one, lol! I'm trying to wrap my head around exactly how to construct this so you could still turn everything! It looks simple but it's actually really complex!
I don't think it has any seams - looks like one giant circle. But to clean finish those holes, you'd have to sew them in steps with some burrito action. Definitely have to sew one and then the other.
I might have to make a half scale version to see if I can.

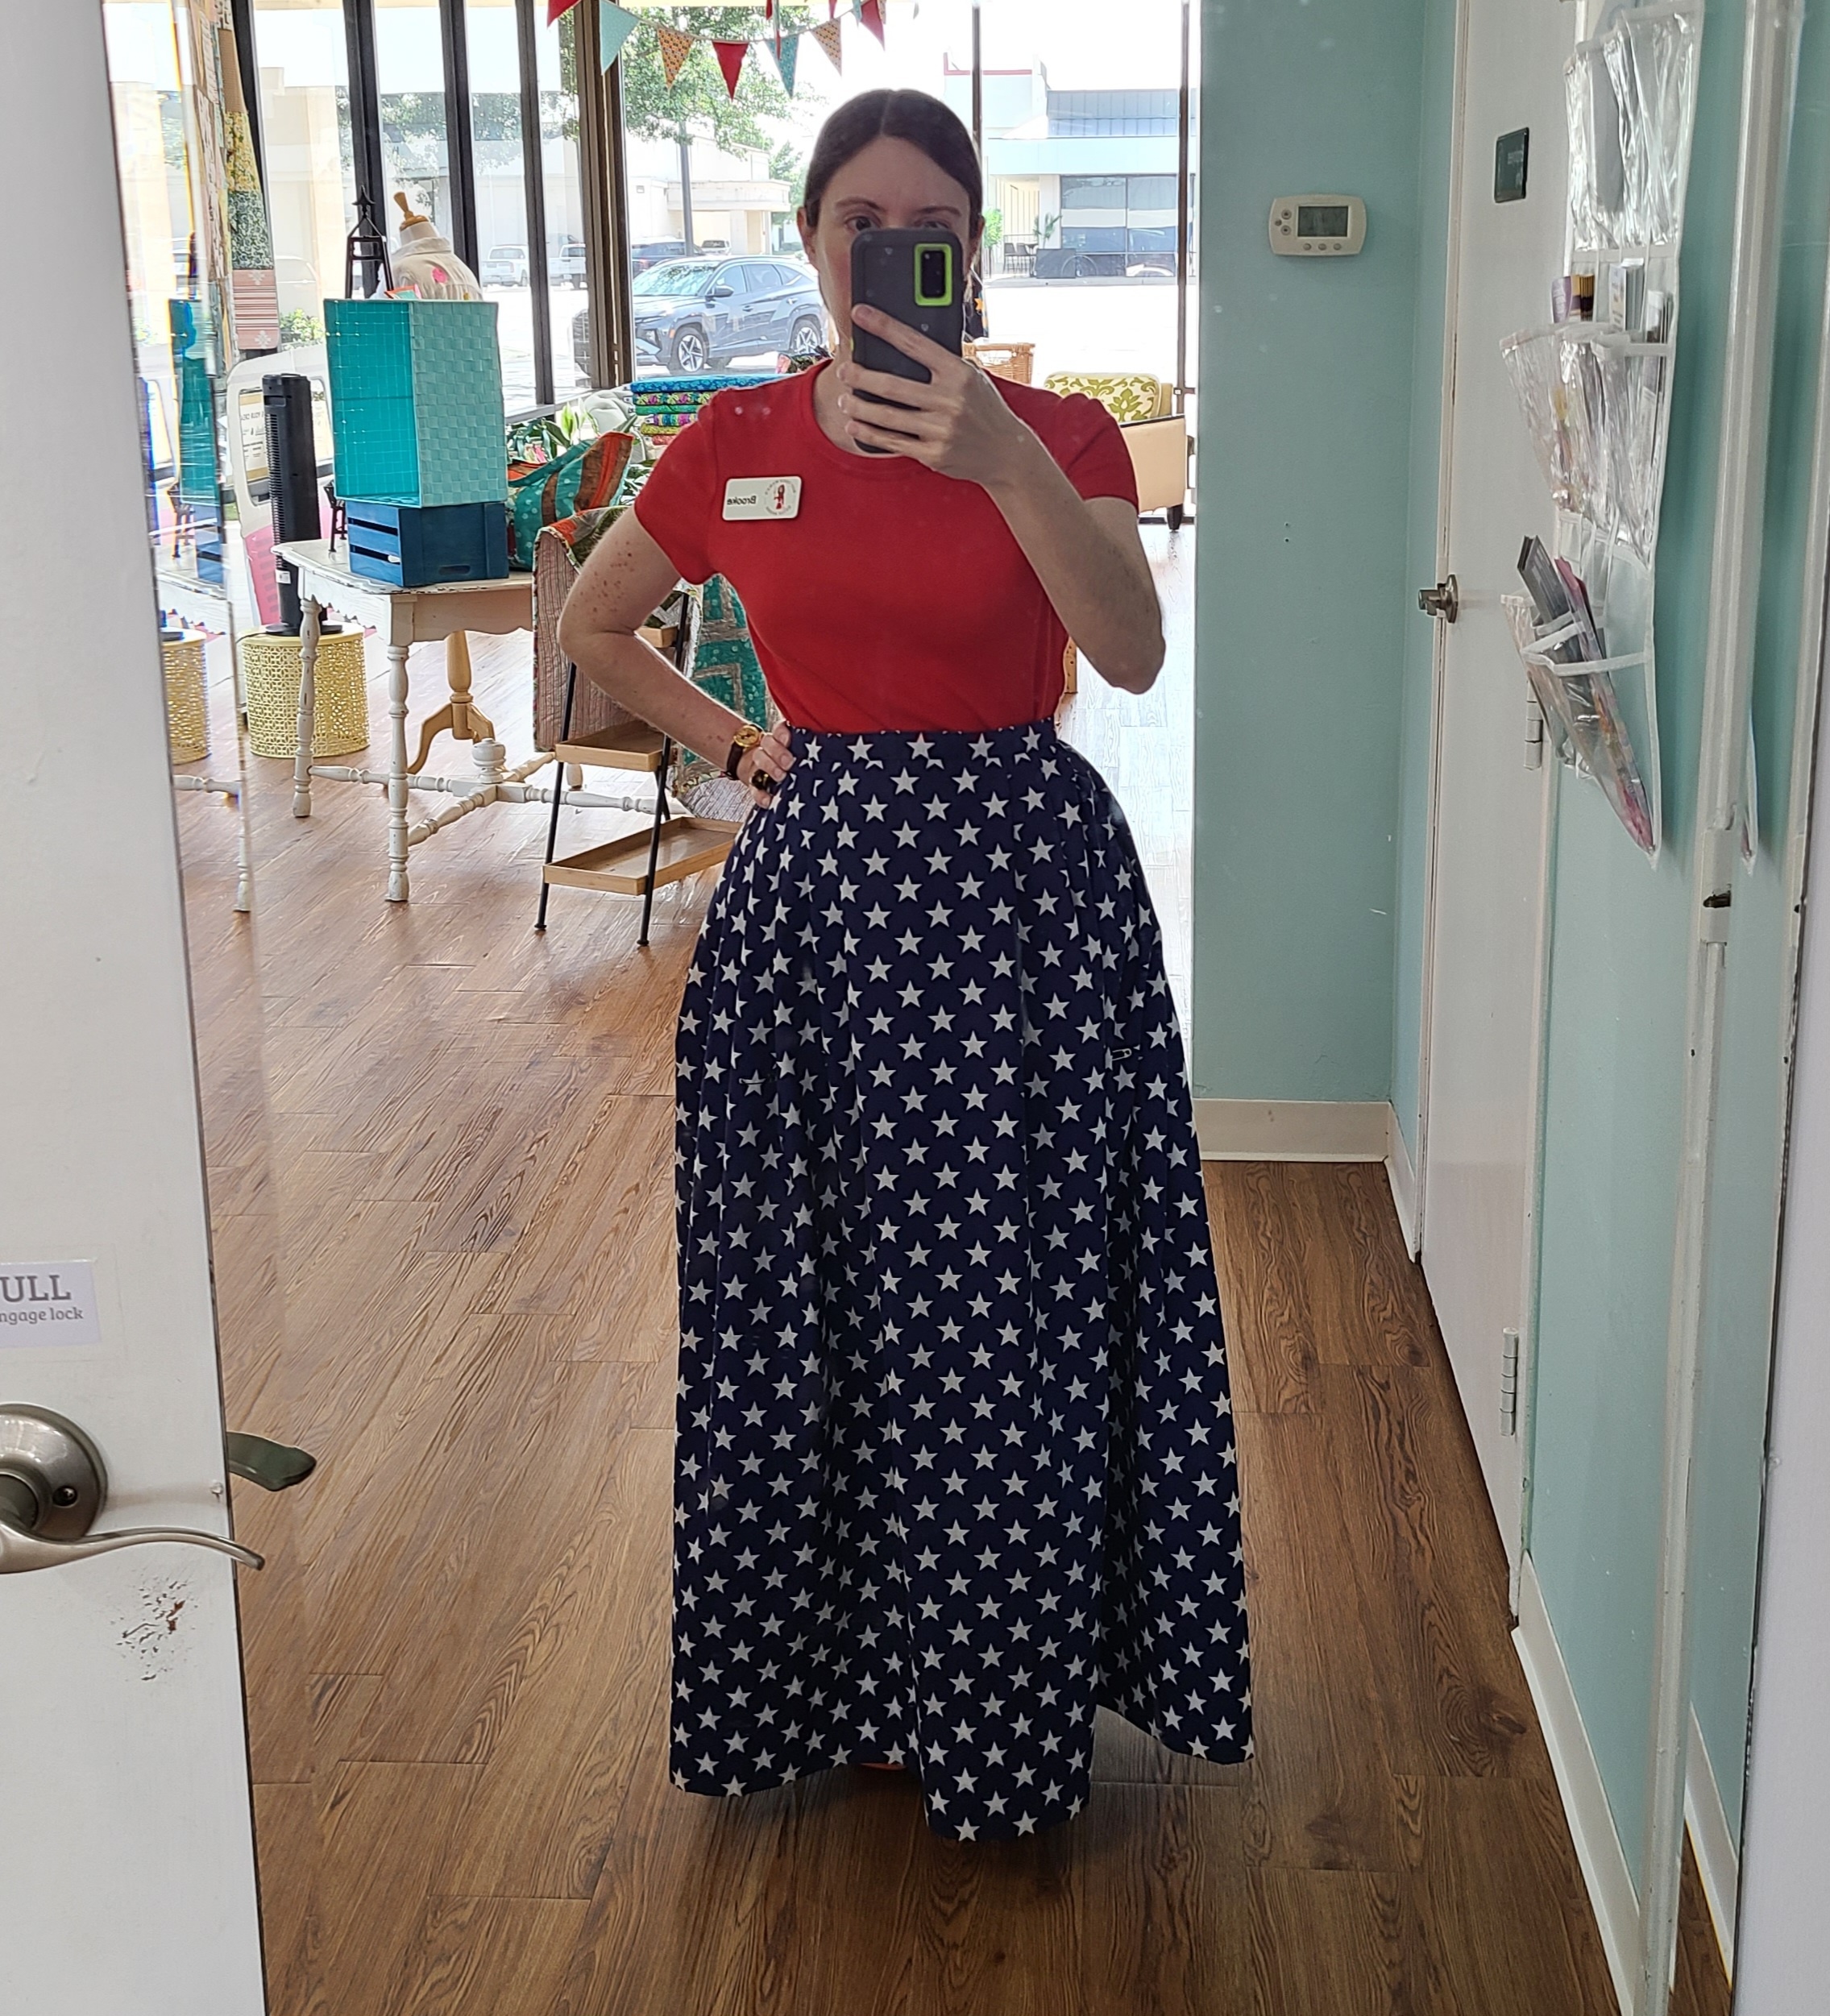
I made a patriotic 18th Century style skirt for and indie film maker to wear to her documentary premiere. Unfortunately, it has been delayed (she and her husband are still working on the final edit) and won't be out today as originally planned, but she'll have a skirt whenever it comes out later this year!
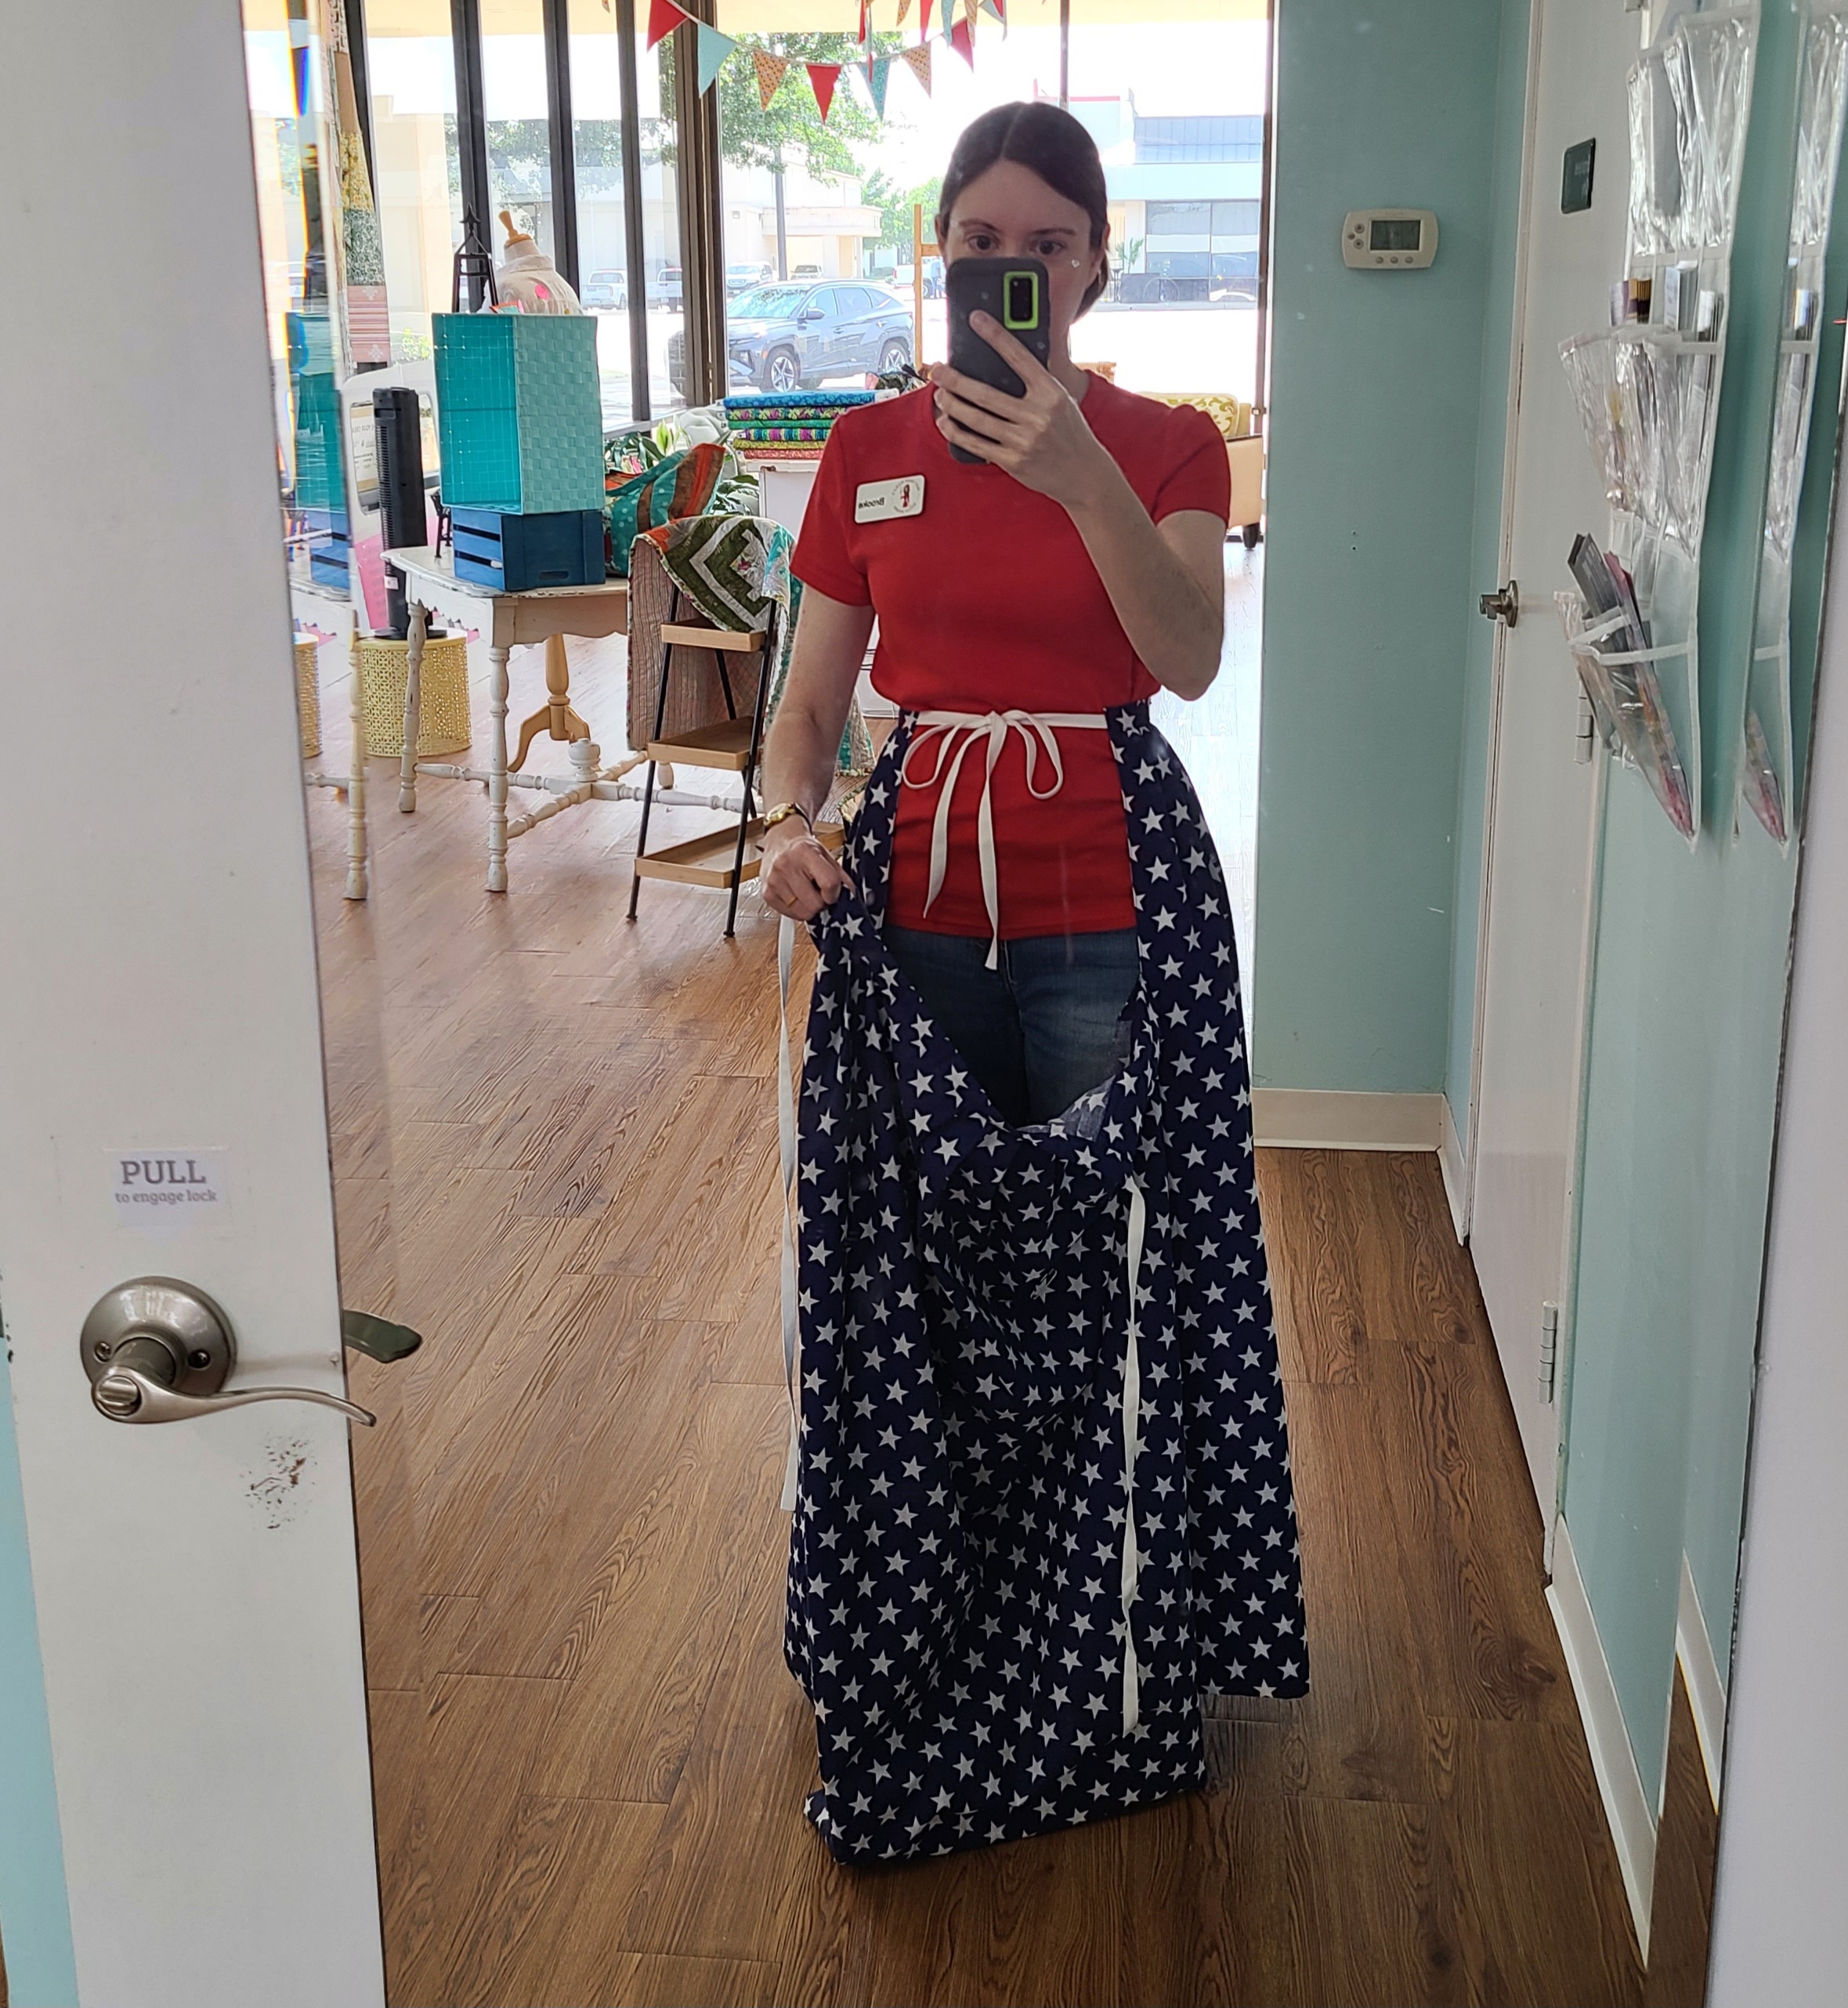
In true historical style, the skirt back ties around the waist and then the front ties around the back. This creates side openings that allow access to any pockets worn underneath. Modern women are always complaining about small or no pockets - they used to be separate accessories and as big as you wanted! (Example photos of me modeling it over my jeans at work because my coworkers wanted to see it.)
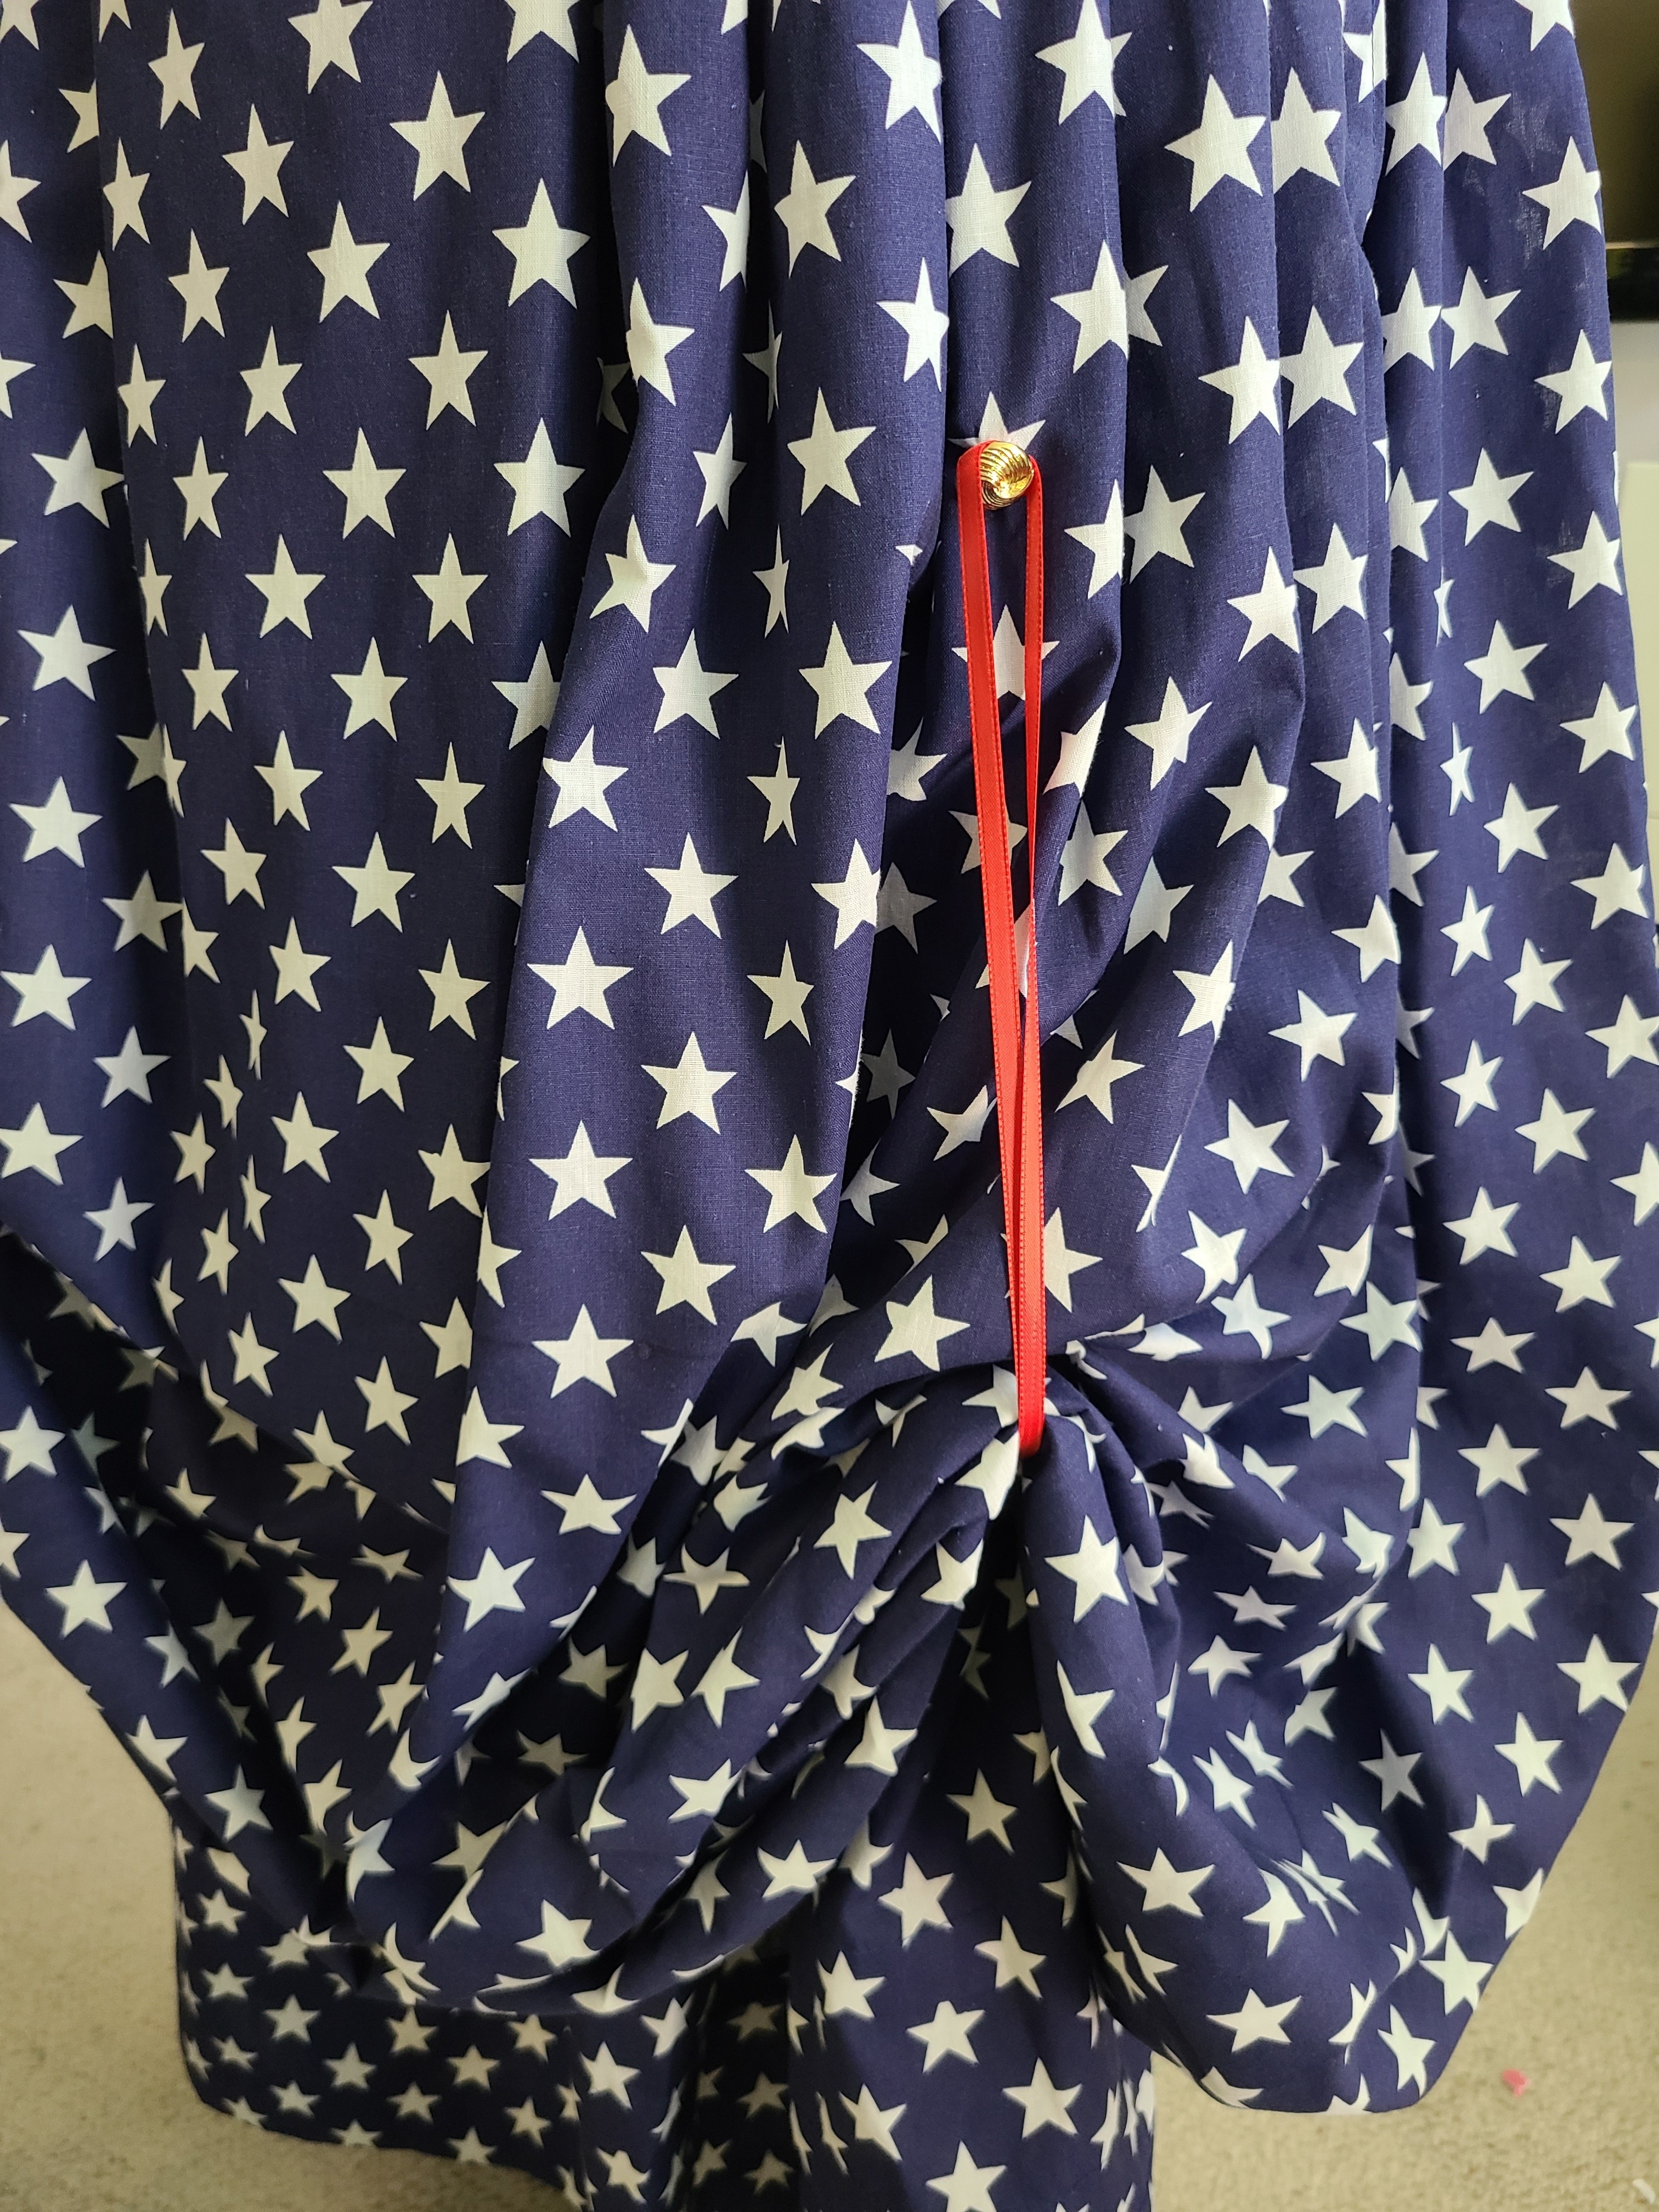
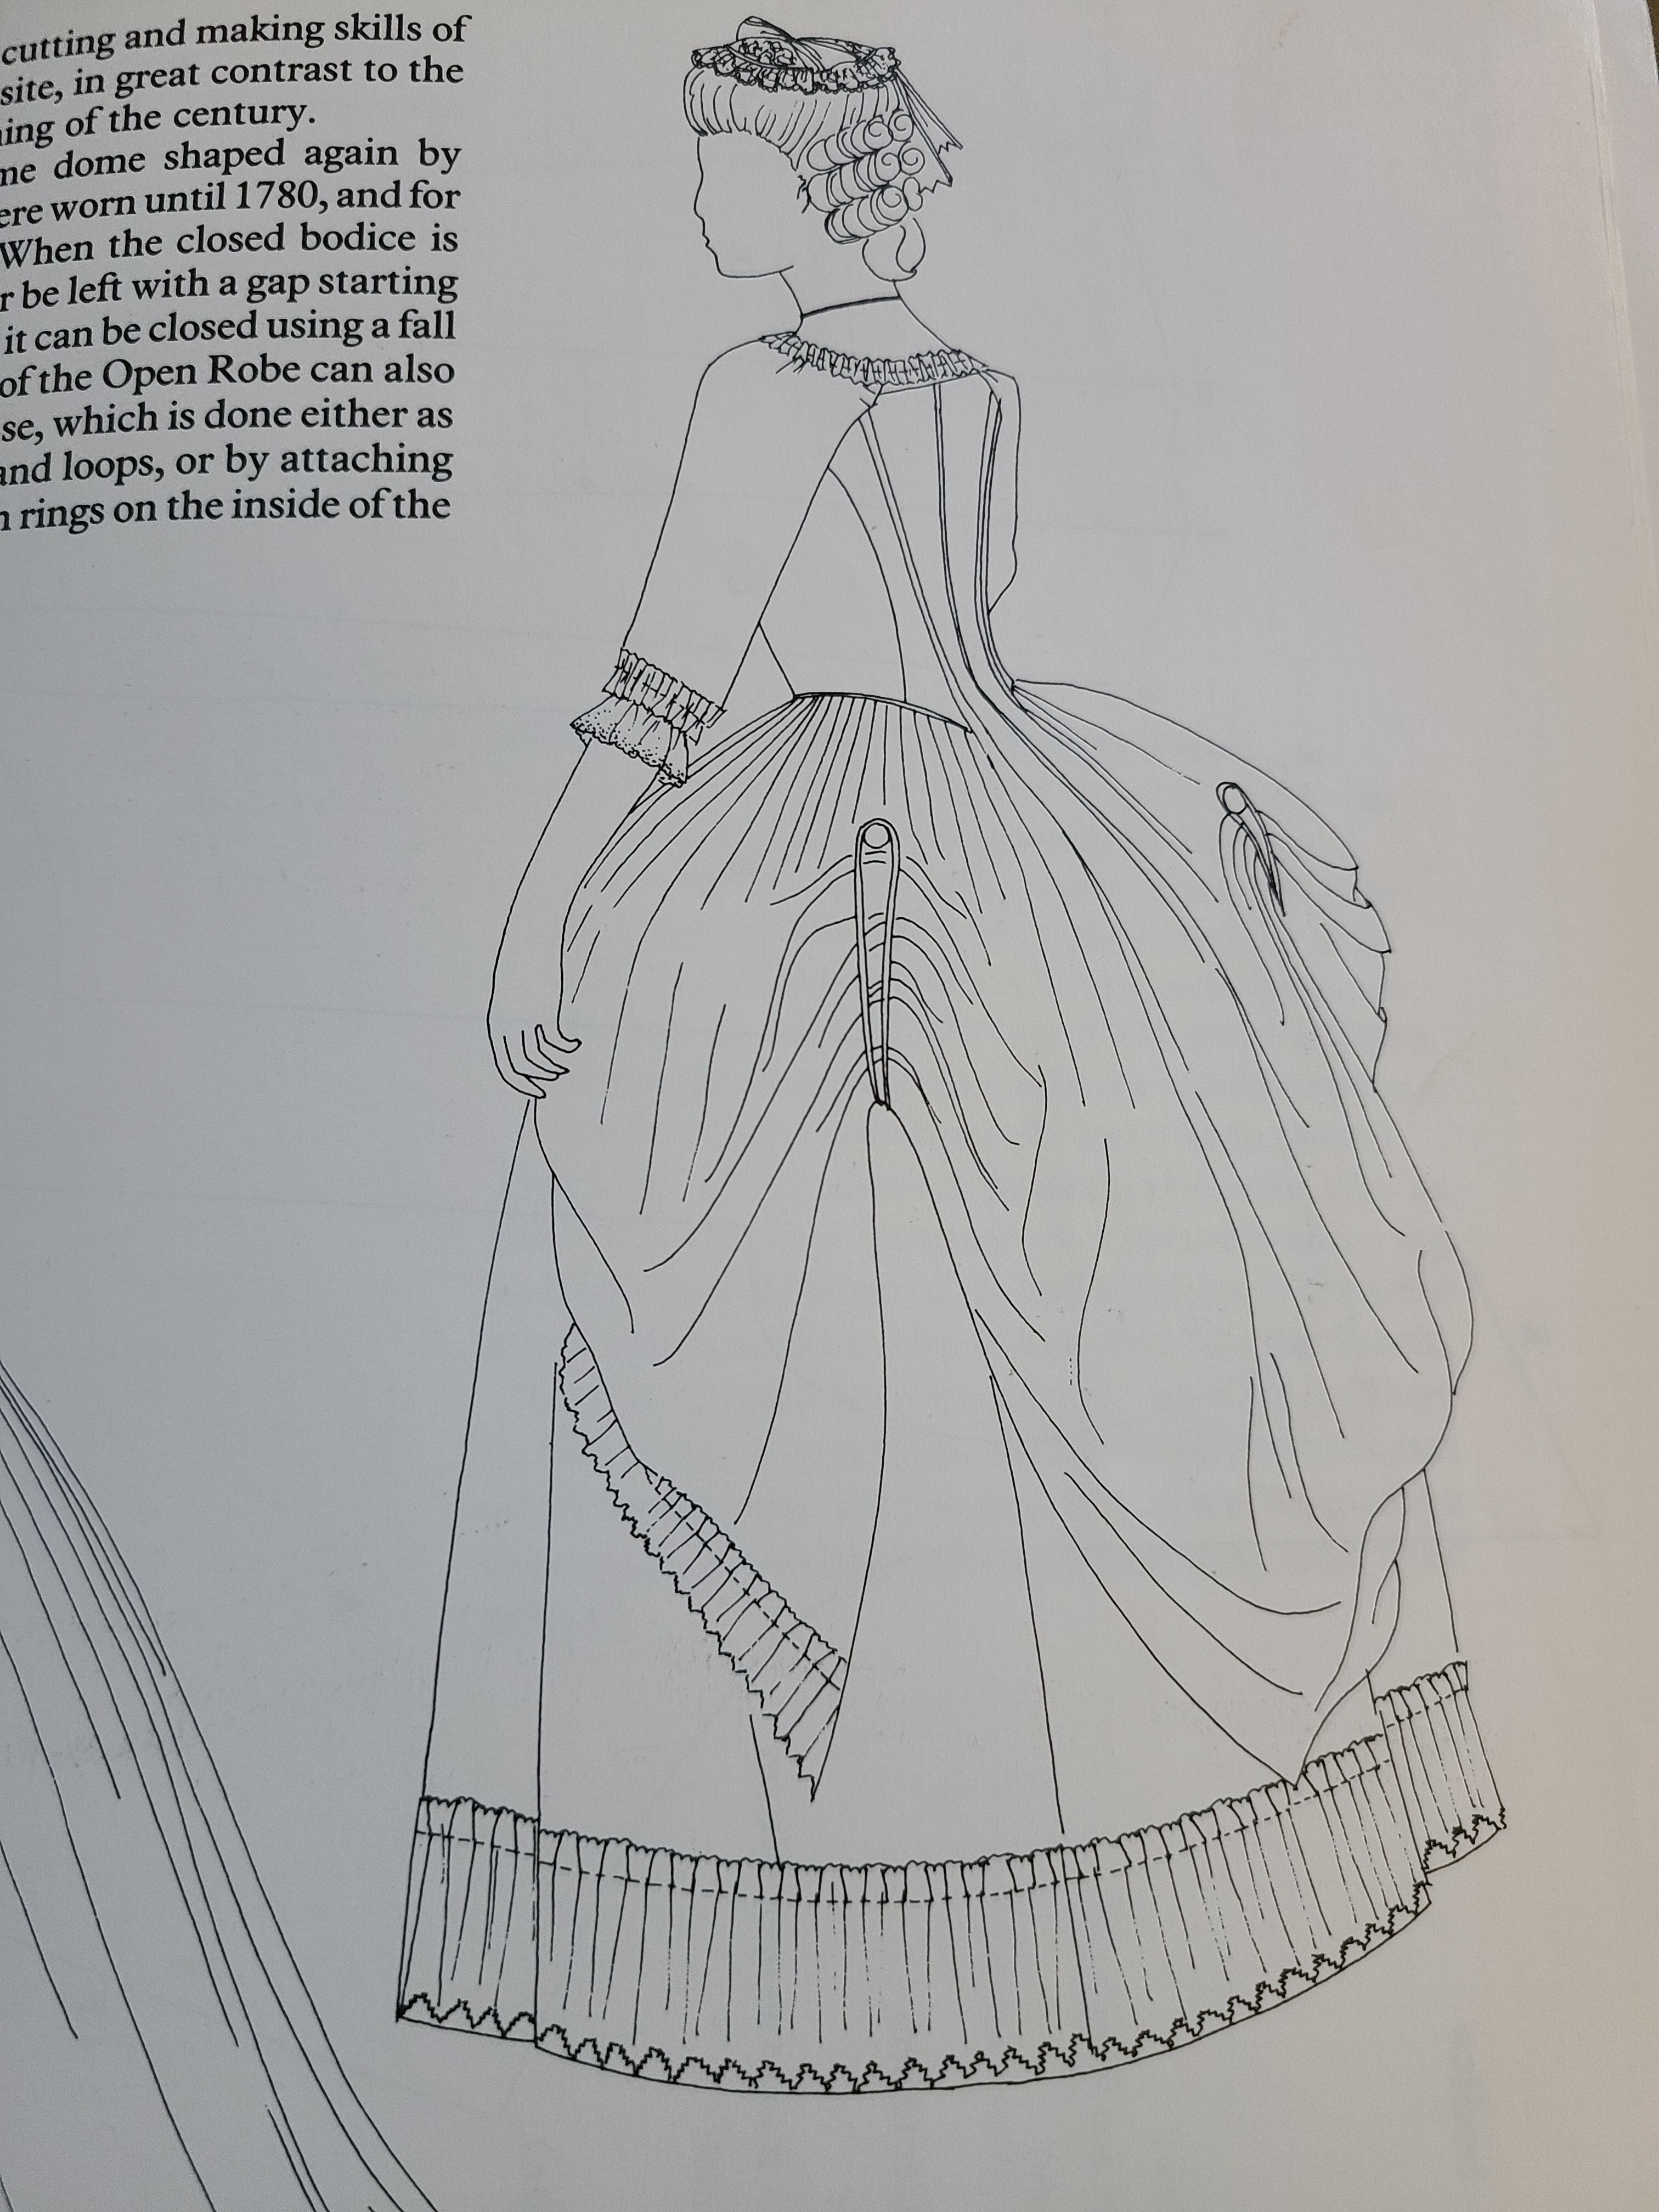
I couldn't help myself and matched the stars on the seams and even managed to hide horizontal tucks on the bottom layer that don't interrupt the stars (it's two layers of skirt). It can be worn with or without a petticoat, and the top layer can be draped with loops of red ribbon I stitched ...